

It's here! The tutorial! It's a long one, and to be honest, it was a long process, but it was completely worth it to have a custom designed bag. I used it yesterday, and man...there is no purse better! And it is a lot better than the diaper bag I was using, which was too small with too few usable pockets. See, that diaper bag had elastic pockets on the inside, which took up room from the interior space. I ended up piling stuff on top of stuff, which made it difficult to access and find everything. My bag has elastic pockets on the outside, and flat pockets inside, in the attempt at efficiency. So far, so good! When you make your bag, think about the things you carry with you, and customize the pockets accordingly. Here's how I packed my things yesterday:

I packed: sunscreen, my lunch/snacks (not shown), multiple drinks (shown here with my things, but in reality, I packed the kids' things when I got there), sunglasses, Purell, a sweater, my medication pack with Epipen/benedryl, feminine products, keys, lip gloss, a pen, an iPad, wallet, comb, and diapers. Plus, when I got to work, I packed the portable collapsible potty, extra snacks, extra pants/underpants for the 3 year old, and still had room to spare! I made my bag with a cross-the-body strap, because I find that the most comfortable option, and it leaves me hands-free for pushing strollers, holding hands, or running around at the park.
Obviously, the "Nanny Bag" is a great diaper bag for anyone chasing kiddos around, so if you're a mom, dad, grandparent, older sibling...whatever! This is a great bag for you. ;) So here we go.
The Nanny Bag
You will need: (all measurements are approximate)
1 yard each of exterior, interior fabrics, and pocket lining
3/4 yard exterior pocket/strap fabric
2 yards fusible fleece
contrasting thread
contrasting 14 inch zipper

Cut your pieces. All are simple rectangles. You'll need:
19.5 x 13.5 inches - front and back
fabric A (x2), fusible fleece (x4), fabric B (x2)
19.5 x 6 inches - bottom
fabric A (x2), fusible fleece (x2)
13.5 x 7 inches (to allow for expansion) - sides
fabric A (x2), fabric B (x2)
27 x 8 inches - elastic exterior pockets
fabric C (x2), fabric D (x2)
19.5 inches elastic (x2)
8 x 7 inches - side pockets
fabric C (x2), fabric D (x2)
19.5 x 11 - interior pockets
fabric D (x4)
39 x 2.5 (or more) inches - strap
fabric C (x2), fusible fleece
19.5 x 9 inches - removable pouch
fabric A (x2), fabric D (x2)

I didn't use interfacing, I just went with the fleece. In retrospect, it would have been useful for when the bag is not so full, and should I make another, I might use it. When I looked at other DIY diaper bags on Pinterest, I kind of liked the ones that were softer, and this one really does feel nice and comfy. I'll update you if I decide I can't stand the soft version, but so far, I love it! So...just the fleece to fuse!
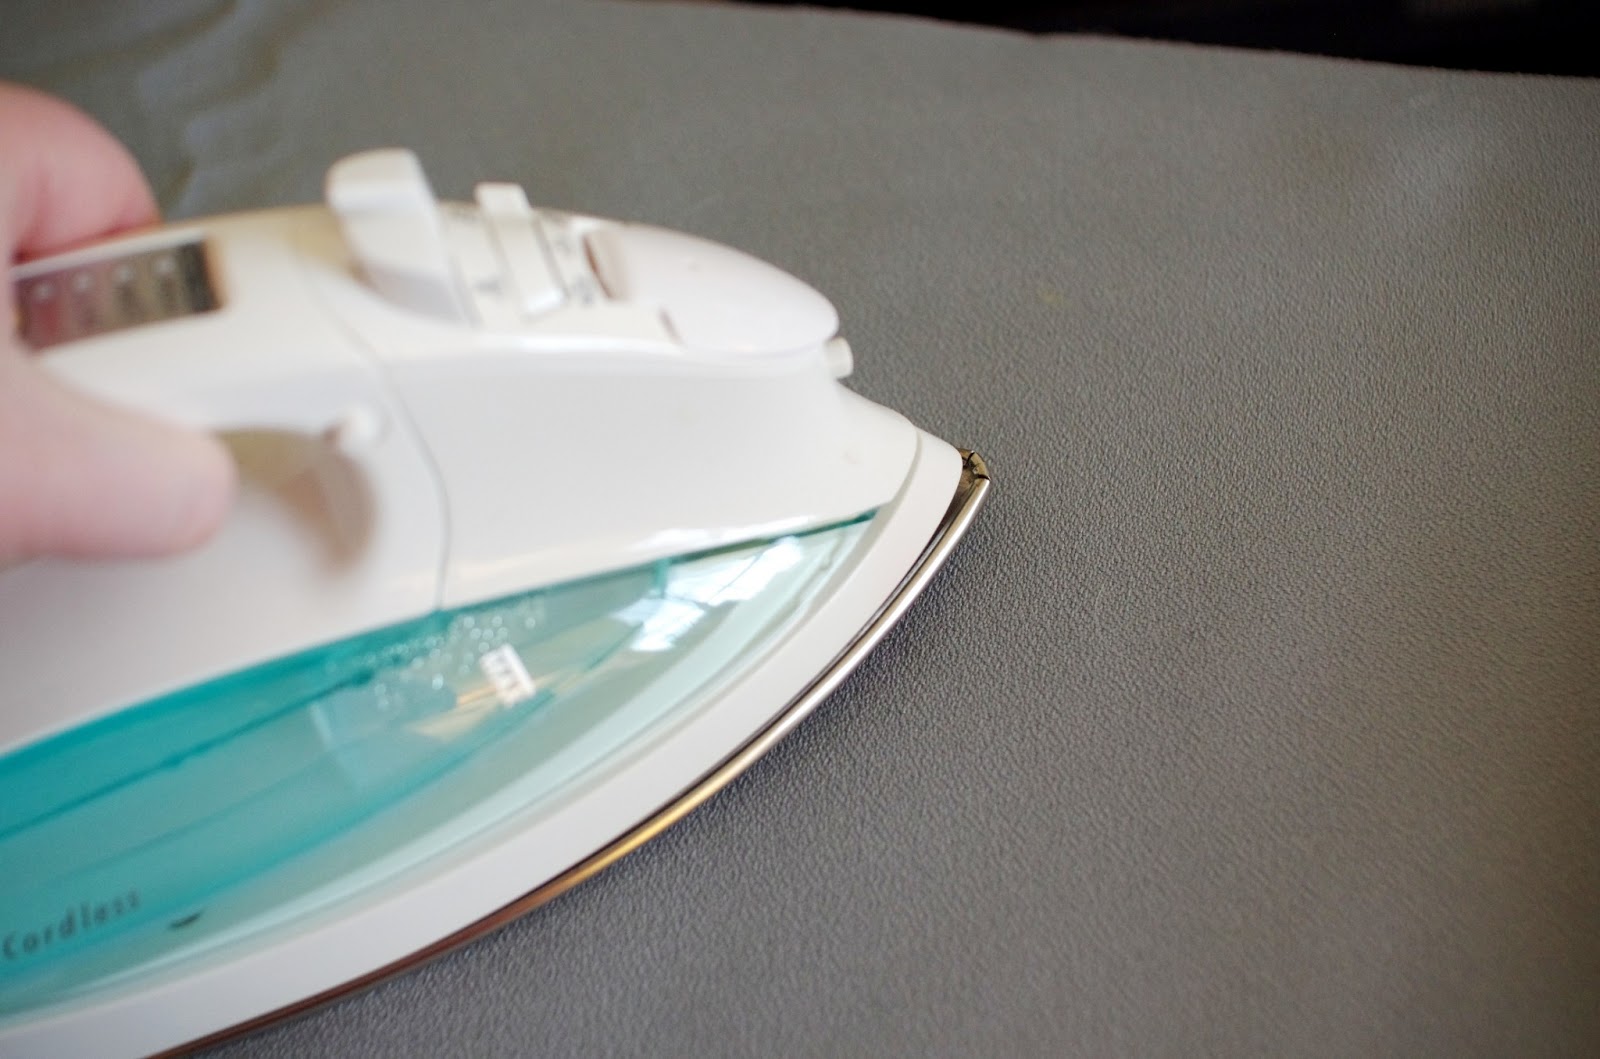
Attach your fusible fleece to all applicable pieces: front and back, bottom, and sides for exterior and interior of the bag. Place the fleece on the ironing board, glue side up. You're going to attach it to the back of your fabric, so place your fabric right side up on top of the glue-side of the fleece. Next, using the steam function, heat set for the fabric type you're using, steam and press. My fabric was a heavy polyester...I ended up using a setting that was slightly hotter than would have been recommended, because it didn't seem to be penetrating through to the glue well. It was tricky to do this and not harm the fabric. Gentle touch!! I also had to iron again to making everything nice and smooth. Anyhoo...allow it to dry/cool, and you're ready to roll.

Trim any extra edges.

Next, start construct the exterior pockets. Sew the exterior pocket fabric and lining, right sides together, leaving a small opening to turn inside out later.

Before turning inside out, sew your elastic to the two ends at the top of the pocket.

Here you can see it attached. The elastic is only sewn into the the edges, since you will be turning it inside out and top stitching to create a band. There are several ways to sew elastic into a garment. In waist bands, I make a pocket, then thread the elastic through. You could do that, or you could sew with elastic thread. This is just how I did it in the moment, and it worked pretty well.

Clip the corners...

...and turn the pocket inside out. I leave mine fairly small (perhaps I like a challenge!), but if you want an easier time turning inside out, leave a larger space.


Sew the opening closed.

Press your seams, and your pocket should look something like this.

Next, top stitch to the left of the elastic to create a band and keep the elastic in place. Be careful not to sew over the elastic. It should be able to stretch freely.

You'll need to hold onto the end of the elastic to keep things straight. Stretch as you sew.

Your finished pocket should now look like this!

Now, you're going to decide your pocket placement. You can play around with how many separations, how big they should be, how high or low to place them. I left a couple of inches at the bottom, with my pocket sitting somewhat lower than the center. I used a water bottle to help me create sizes for two pockets for bottles/drinks, and left a larger pocket for snacks. You will pin vertically where you want your pockets separated, and top stitch along them. I added red lines to help show what I'm trying to explain.

You can see how I pinned the outer edges first, pinned vertically where I wanted the pockets to separate, and pleated the bottom of the pocket so there would be room for expansion.

Sew along your pins. Now your exterior back and front are done.

The side pockets are the same basic construction without the elastic. Sew the exterior and lining right sides together, leaving a space open, and turn inside out. Press the edges, and sew onto the side panels. You could mark off pockets for items you typically carry, likes keys or phone.

Next, we're going to construct the exterior of the bag. Pin your bottom panel to the bottom of the front panel, right sides together. Sew, and repeat with the back.

Opened up, it should look like this.

Do the same with the side panels. It will look like this when it is flat. Here's a makeshift diagram on where to sew! (Isn't it terrible helpful?!?!). Press the seams open when you get to this step.

The trickiest part was sewing the bottom to the side panels. Maybe another blogger can be more helpful, but I just kind of pinned and did my best! :) Where there was extra fabric, I just pleated it a little.

Make sure to pull the corners out a bit so that you don't sew it by accident and make more work for yourself picking seams!

Here, you can see the little pleat at the bottom of the side panel. This just gives more room for expansion.


Your bag should look like this! You'll turn it right-side-out so it will look like this:

You can see how soft it is...like I said before, interfacing will give it more structure, if that's what you prefer.

Now we will construct the interior. For the flat pockets, sew the two layers right sides together, leaving a space for turning inside out. Press the seams, sew vertically to separate the pockets, and you're done.

Construct the interior using the same steps that you used for the exterior.

I saved myself a step by not sewing the sides of the pockets until I added the side panels, but you can sew them first if you want to. :)

To construct the strap, you will have one long piece fused with fleece, and one that is not. Sew the two right sides together, leaving a large space open to turn inside out OR sew one side together, open, and top stitch. I took the tougher road and turned it inside out. It took a while, but I like the look. It's lofty and soft.

Now it's time to sew the exterior to the interior. It's a tricky part to explain...I hope it makes sense.

Pin the exterior and interior at the tops, right sides together. The easiest way I found was to keep the interior inside out, and place the exterior inside, like this.

You'll need to pin the strap to the side panels, like so.


It should look like this when it is all pinned. If there is extra fabric (like mine), simply make tiny pleats where necessary.

Leave one side panel open. This is how you will turn the bag inside out. You could leave any part open, I decided the side would work for me.

Pull the bag inside out (or right side out, I suppose), and push the interior inside the exterior. It should look like this.


Here's the open side. We will sew this closed. The corners were too thick for my sewing machine, so I sewed those by hand with a hidden stitch.

Pin the strap inside, fold the edges inside, and top stitch. You will top stitch around the top edge of the entire bag, so it will all look uniform in the end.

And your Nanny Bag is finished! If you're not completely exhausted, there's one more thing to make: the removable pouch.

I used the exterior fabric and the pocket lining (because I had a ton of these fabrics). I made more work for myself that necessary by sewing the sides and lining together first, then putting them together. This was because I didn't want any rough edges. So...you'll basically make two panels like we constructed the pockets. There are probably a billion other tutorials for making pouches and purses, but this was just a last-minute addition, and I winged it!

After you turn them right side out and press the seams, sew the zipper to the top of each side. This was my first time installing a zipper. Eh...I did ok. But I do not have any tips.

Then, pin the two sides, exterior sides together, and sew around the rest of the bag, leaving the zipper open.
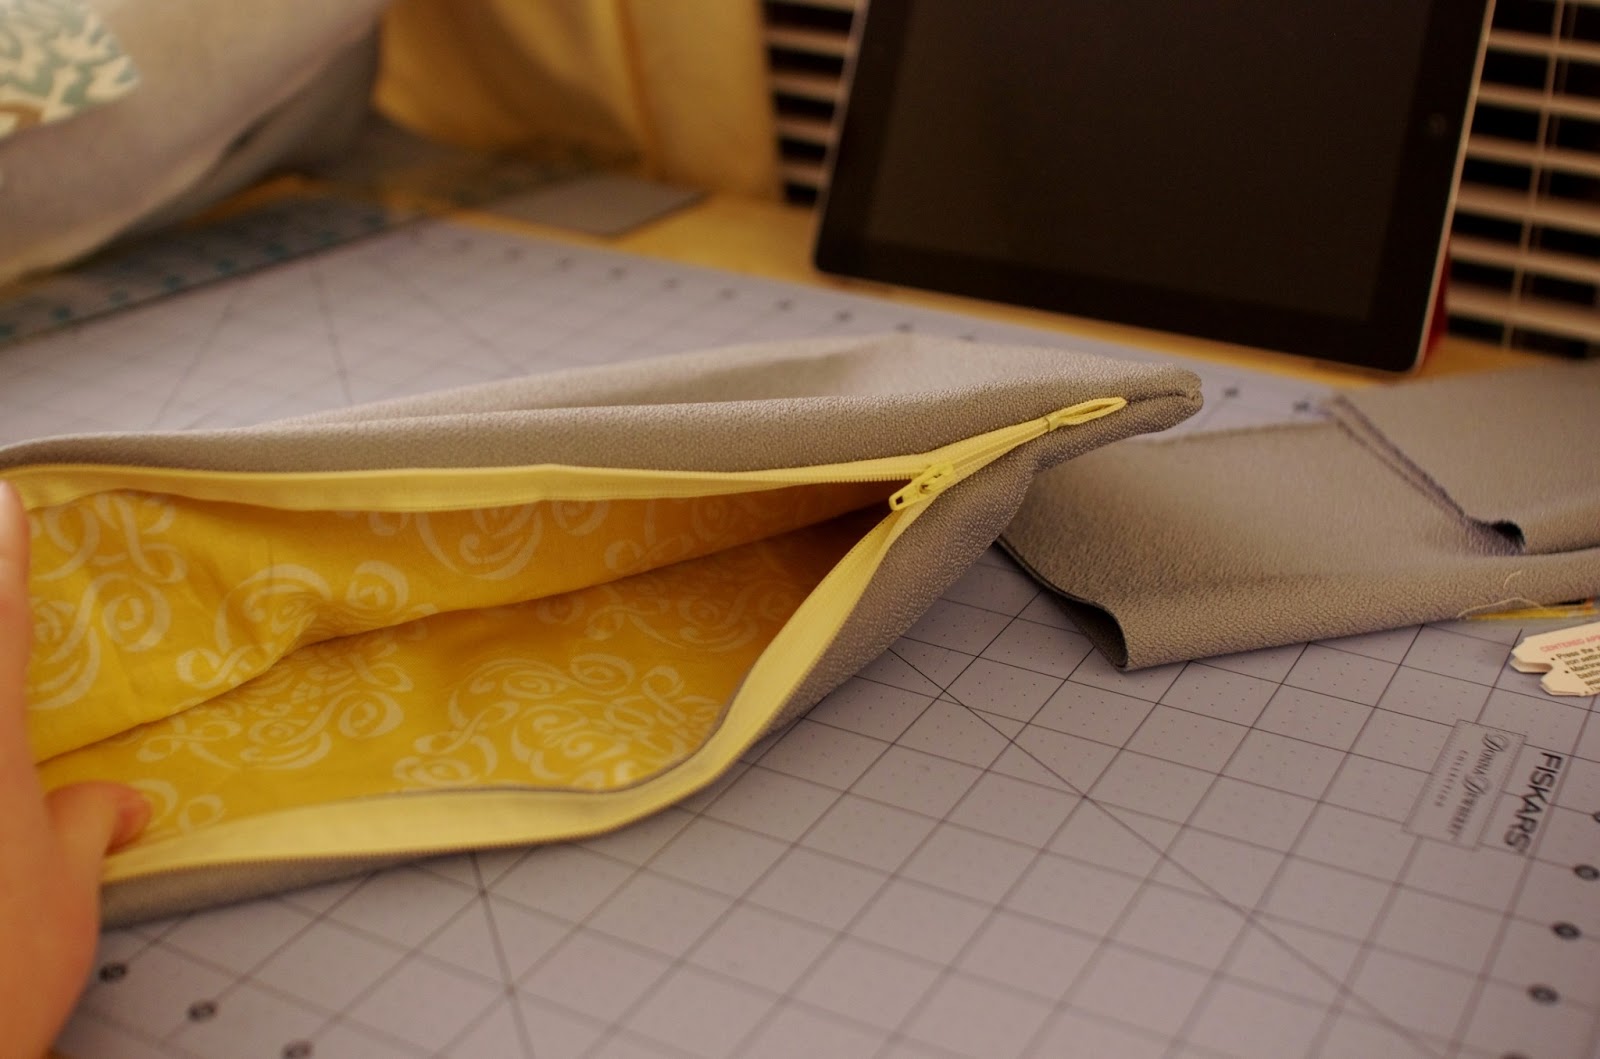
Turn inside out and done!

Now, you have a removable pouch! You might use this for snacks, diapers...I'm using mine for feminine products, medications, and my wallet.

Ta-da!!

And there you have it! My favorite part of the process was choosing fabric. I had a TON of the exterior fabric left over from my curtain project. My husband bought it at Job Lot for super cheap! I still have a ton. I also had the yellow fabric left over from one of my Hawaii dresses. I bought the other fabrics at JoAnn's...I saw them when I went in for supplies for the dinosaur tales, and I couldn't resist getting a yard each for this project. So...what fabric will YOU choose for your Nanny Bag? If you make one, be sure to share it in the comments! Thanks for hanging in there during this long tutorial. Happy Sewing!


.JPG)