Monday, August 30, 2010

Elastic-Waisted Tiered Skirt Tutorial


It's finally here! My two-tiered floral skirt with elastic waistband....the skirt for which I could not find a good tutorial. There were many skirts with a similar idea or purpose, but nothing that is like what you find in stores these days....floral, black elastic, separate tiers that create a layered-ruffle look. I absolutely love it, and there is a little surprise in the back.


You know, I don't really want to show my bum off on the Internet, but I had to add a photo of the "panel" that I was going to add to the side, and it was going to be this giant ruffle....well, that was a really tricky thing to try and wrap my head around. The idea was in there but it couldn't come to fruition. So I added the panel, ruffling up at the top, but when I tried it on, I decided to wear it in the back. A crazy idea that kinda seemed like the cross between a tail and a really short train on a formal gown. I thought it was a pretty crazy thing to do, but my boyfriend really liked it, and I do too! I added it because I cut the material just an inch or so too small (must have measured wrong, it is a very silky and fluid material) and I didn't want to scrap the project. What do you think of the panel/train?

Anyhow...on to the tutorial!


Start with a material you love! I chose this from Joanne Fabrics. It was hard to find something with a medium-sized floral pattern in the colors I wanted, so I chose this polyester material (I know, I know, but this one feels silky and shiny and looked closest to what I wanted visually).
Cut two pieces the length of your widest part (hips/tummy?) and about 5 inches wide, leaving an extra inch for seam allowance. For instance, if your hips are your widest part, and are 37 inches around, your small pieces should be 38 x 5inches. My pieces were cut on the fold, so they are pictured folded in half (I think this is how I made my size mistake, having cut all my other skirts differently).  
Next, cut two larger pieces roughly 14-15 inches longer than your small pieces, and 8 inches wide. For the example, these pieces would be 52 x 8 inches. If you want to do a true ruffle, the pieces will need to be three times as long....obviously, I didn't choose to do this.


Sorry for the junky picture! The next step is to hem one side of each of your large pieces. Simply fold over half an inch, pin, and sew. My fabric was so impossibly fluid  that I had to use my ruler and lots of time and patience to make sure it was straight. If you use cotton, much easier, but you may want to iron your hem. 
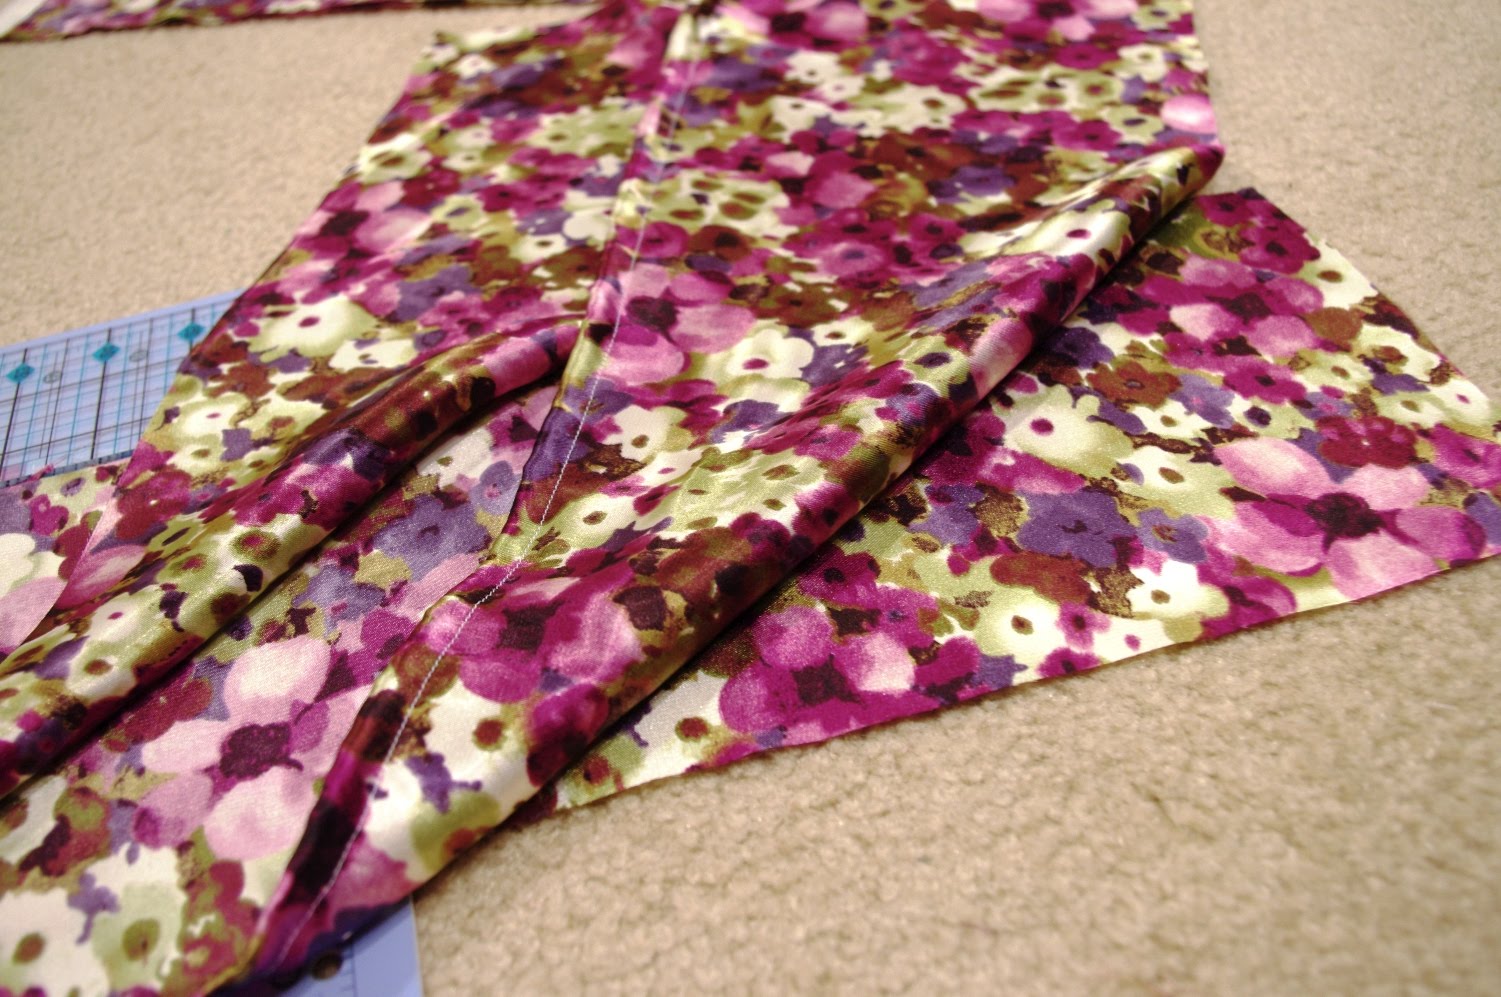

 Now, we begin the layers. Start with a small piece, right side up. Second, layer a hemmed large piece, right side down, and finish with a small piece right side down. I used a ruler to keep the edges straight.


Find the centers, and pin them together.


Your layers should look like this.


Make folds in the middle (large) layer about 3/4 inch. These should be spaced roughly 5 inches apart, or however many inches it takes for your middle layer to match the two small layers in length.


Pin the layers together at the folds.


This is what your folds/rufflles should look like when you are finished.


Sew the layers together using a simple straight stitch


Cut off the excess material, careful not to cut the skirt itself.


Here is your waist and first tier. Underneath will be the third piece, to which you will sew your second tier.


I hope I describe this properly because it is a little complicated to take a photo of. You are going to pin your second tier (second large piece) to the bottom layer (the piece that was right side up to begin with). Keeping this bottom layer right side up, place your last large hemmed piece right side down along the free, unsewn edge.  Repeat the folding process. Sew these together with a straight stitch.


Your layering is done! Here is how your skirt should look.


I apologize for not having a picture of this step before it was finished. Similar to the Jean Ruffle Skirt, you are going to attach elastic to the waist of your skirt, but instead of hiding it inside the material, it is going to simply be attached to the top of your skirt. I pinned the top of my waistband to the elastic at 5 points: each end, middle, and quarters. Then I pulled the elastic so that it was stretched out, straight and even with the fabric, and sewed.


This is what the fabric will look like when you let go of the elastic. It should be scrunched, which will enable the fabric to stretch over your hips. I sewed in two places to make it extra secure.


Finally, sew the two ends of your skirt together so that it is completely closed. This is done with right sides facing each other so you are sewing on the inside of the skirt.
If you want to make the little panel/train like mine, just cut a rectangle of fabric as long as your skirt, and about 10 inches wide. Gather at the waist end and sew. Hem the bottom. Finally, sew the sides to the ends of the skirt to close the skirt. I plan on taking this panel away if/when I lose weight, but for now it's a little extra surprise to my skirt. If you'd like a more complete tutorial on the panel, let me know...I didn't take any pictures!


And there you have it! Not-so-simple, but super cute!


I hope you try out this skirt...it is much cheaper and just as cute as the ones in the stores! Let me know if you make a tiered skirt and if you had any tips/tricks for my readers. Happy sewing!

Sunday, August 29, 2010

Birthday Bear Gets His Shirt!


This morning, I finally finished Birthday Bear, shirt and all! I made his shirt by printing off the text on printable fabric, which I later sewed on to the front of the shirt. The shirt itself was an adventure, and if I hadn't been in such a rush, I would have taken pictures throughout. Basically, I made it completely from scratch, using Birthday Bear as a very rough guide. The back of the shirt is much bigger than the front, since his arms sit on the front of his body. I used white cotton, which wasn't as white as the printable fabric, but I added some detail stitching to detract from that. :)


The front of the shirt is one piece, and the back is two pieces (since his head is so big!). I started out by cuffing the sleeve edges, then sewing the three pieces together so that they open like a hospital gown. Next, I hemmed the neckline and bottom of the shirt, all of this in white thread. I kept trying this on the bear over and over to make sure everything was fitting properly. I did have to take the front in a little to make it sit flat, but that was easily done.


Next, I stitched the text on the front of the shirt using a small zigzag stitch in orange cotton thread. This is the first time I've really played with length and width so I tested the stitch on a scrap of fabric first. I decided that the shirt looked too much like a lab coat, so I also added the orange zigzag around the sleeve cuffs, neckline and bottom of the shirt. To finish up, I hand stitched the two pieces in the back so that the shirt would lie flat. And that was it!


Still waiting to hear back about whether I am officially hired or not. I don't know if Slinky can sense it, but yesterday she actually let me hold her! This is something she hates, and it didn't last very long, but I needed the snuggle. I'm feeling a little overwhelmed reflecting back on all that has happened this year. The center I used to work at closed its doors on Friday and my former coworkers are posting their photos of the last day. I got this wave of finality seeing them, realizing there is absolutely no going back, only moving forward. I just wish I wasn't stuck in neutral right now (yes, a car reference!! Been practicing all weekend!).

Thursday, August 26, 2010

Where's the Exit on this Roller Coaster?!


So to give you an idea of my tolerance for roller coasters, or just rides in general, let me tell you a story. About Splash Mountain. A very family friendly attraction that thousands, nah, MILLIONS of people consider to be one of the most fun rides at Disney World. My boyfriend and I took a trip to Disney World last October. He is a big thrill chaser, and I am the kind of girl who gets nauseous on a ladder. No joke. Well, he played down most of the rides so that I would go on them, and this strategy worked for just about everything...except Splash Mountain.


You know how there are signs all the way up to the ride that say, Turn back now!!! This has extreme drops!!! I swear I felt like an animal being led to slaughter, being slowly shuffled closer and closer to the crazy contraption that was going to be my demise, unable to find a way to get out, but in all honesty not wanting to seem like a total baby. I got on the ride, against my better judgement, and just so happened to be in the front seat. Behind me sat a 5 year old boy and his parents. We settled into the log and off we went. I think I remember a couple smaller drops, but they weren't really much worse than Thunder Mountain Railroad, which I enjoyed. But those obnoxious animals all singing happily could not camouflage my fear when we came around the bend and began to ascend the dark, damp tunnel. I gripped onto whatever was closest to me as hard as I could, chanting over and over, "I don't want to do this. I want to get out! I need to get off this ride!" hysterically, while the child behind me chatted casually to his parents about how fun this was going to be. No, child...it was not fun. To me, it felt like this:


And let me tell you, those people on that ride were TERRIFIED! I heard the screams.

In all seriousness, it was very similar to the time my high school best friend forced me on the California Adventure roller coaster, you know the one around Mickey's head? I screamed at her the entire time that I would kill her, my stomach felt like it was sitting somewhere near my nasal cavity, and afterward I was almost sick to my stomach....but not quite. I survived that one, and I survived the much less intimidating but just as frightening and nausea-inducing Splash Mountain. But I never want to do it again.

It's the drops that get me, that feeling of no control and that pulling sensation in your stomach. That's what I'm feeling like today. This year has been a roller coaster that I can't find my way off of. It's not going to hurt me, but I am probably going to be scared out of my mind and a little nauseous. Yesterday I was offered my dream job....assisting the reading specialist by working with small groups of children who are not meeting grade level. My ultimate goal is to be a reading specialist, so this job was perfect, and the school has a large population of second language learners, with whom I can use my Spanish that has been lying dormant since high school and I have missed using so much. I was so excited that we went out to dinner and dessert to celebrate! But this morning I got a call saying that the funding has been cut, and the position will likely only be half time....and it still has to be approved by the superintendent before it is final. I would still want it if it is part time, but it would mean searching for a second job.

I also had a decent sized back spasm last night and it is still acting up so I've been in bed all day. I ask you...where's the exit?!

Monday, August 23, 2010

My List of Do's when Interviewing

Yeah, I know...I'm not an expert! But after 6 months of applying and interviewing, nearing 20 interviews finished, I figured I would share with you the Seven Do's I try to tell myself when gearing up for an interview.

1. Keep your look simple, polished, but original.
I was really tempted to wear my new white sweater with my favorite pants, which are black, to my most recent interview. Maybe with a bold piece of jewelery? Well, I don't have bold jewelery. And black pants with a plain white sweater looks so blah....I've watched too much What Not to Wear to make that mistake. Instead, I decided to wear my new white sweater with a floral skirt I made earlier this summer. Not only does this add some color and pattern to my outfit, the skirt fits perfectly around my tummy, so I won't worry about any unflattering lines, and it is long enough to be work appropriate, not sexy or frumpy. For makeup, I go more neutral and natural than I would for a nice dinner, but with the basics covered. Moisturizer, light mineral powder foundation, eyes and a light lip tint. I don't want them to think I'm going to be late to work because of my makeup routine.

2. Remember the names of the people interviewing you, and use it.
I learned this from my boyfriend, who deals with many people in his company over the phone. I thought it was silly when I first met him, he would repeat the person's name three times on the phone, but when I went into an interview and had no idea who I had talked to on the phone, I realized how lame I seemed. Ask for the name if you don't remember it, write it down and use it. Which brings me to my next point...

3. Send thank you notes!
I didn't send these when I first started my job search and quickly decided to incorporate it into my routine. Which is one reason you should remember the interviewers' names...you're going to want to include them in your thank you note. If you've interviewed with a large company or with a school district (like me), addressing the company as a whole, HR or whom it may concern makes it sound like you didn't take the time to learn anything about who you spoke with, so why would they want to take the time on you?

4. Be polite, even when they aren't.
Early on in my search, I came across a couple people who were less than professional. Whether it was asking inappropriate questions (someone ate her lunch during our meeting, told me I would be hard pressed to find a school that would offer health insurance, only wanted to know how my previous school ran their program and paid their teachers, and nothing about me), or making rude assumptions to your face (someone told me I was obviously in teaching for the money because of the age group I wanted to work with), it is always better to take a deep breath and handle the situation with tact. It isn't always easy, and it can be tempting to make a smart remark, but I try to be polite, yet not ignore the comment. Rather, I try to address it as politely as I can without seeming wishy-washy or apologetic. If all else fails, thank them for their time and make your escape. It can be a jungle out there.

5. Have a portfolio of your work to refer to during the interview.
This is a standard item to bring to teaching interviews, but I'm not sure how it works with corporate settings. I've found that my portfolio, when it is complete and polished, can be my best asset in an interview. Sometimes I have difficulty explaining exactly how I implemented an activity without going into a long winded speech, so I pull out my portfolio to show photos and lesson plans of successes, as well as documentation. My portfolio contains all the items I would send in initially (cover letter, resume, recommendation letters, transcript, and licenses), writing samples, documentation of lessons and environments I've planned. Pictures are a fast way to show the interviewer what you look like in action, without them taking your word for it. And having work samples gives them a way to preview what they might see around review/report time. I always makes sure I refer to it at least once, especially if they don't ask for it.

6. When you get home, apply for at least one more job!
It's never a good idea to think you've got one in the bag. It can take a while to hear back from someone, and that is time you could have been interviewing at more places. If it's a no, you haven't lost any of that precious job search time, and if it is a yes, you can always let the other employer know you've accepted another position. This is the hardest part for me because I always want to put all my eggs in one basket, but it isn't realistic.

7. Remember...they want you to succeed!
This is another thing that has helped me stay calm. The interviewer wants to find the right person, and they are hoping you are it! While you may not always be the best fit, they aren't there to prove you're bad at what you do...which is what used to cause a lot of my nerves. Just do your best and prove to them why you were such a great candidate that they called you in!

Thankfully, Other People Blog Too

Good morning everyone. Just thought I'd include a shot of my kitty exploring my kitchen/sewing table, since I still haven't finished my skirt tutorial yet. I had a bad stomach ache this weekend that turned out to be (I think) a kidney stone (most likely because I haven't been taking my baking soda....must replace moldy juice jug today!!). I didn't think it was a stone because this time the nausea/upset stomach came before the pain, but now the pain is here and I am consequently not working on my tiered skirt. I promise it will come soon!

In job news, woke up to two requests for an interview this morning, which made me both extremely happy and extremely anxious. Not because I'm worried about the interview...at this point, I've been on around 15+ interviews so I'm not so nervous about what I am going to say. No, I'm anxious about making a decision and if I am making the right one. I'm finding that the elementary level jobs I am being called about are either long term sub or part time. Part time lead teacher wouldn't be so hard to choose, but part time assistant pays less, which would mean getting a second job....not that I am opposed to that at all, but it means more job searching. I know, I know, life isn't easy, at least I'm getting my foot in the door, and there are far worse things to happen to people. I know I also shouldn't get myself so worked up about this, but as a worrier at heart, it all seems 10 times scarier in my head. I'm so used to full time lead teacher, even if it is in a toddler room, that it is scary to think of only having secured a part time position.

The more I read over what I just wrote, the less scary is actually seems. Things will be ok...they'll work out. And I should even have time to go back to school. *big, deep breath*

I came across two blog posts today that really cheered me up though, and I just had to share them. First, Sarah over at Yes, Teacher! shared this Jack Handey quote as part of her Mondays with Jack, and it really made me laugh: "I hope some animal never bores a hole in my head and lays its eggs in my brain, because later you might think you're having a good idea but it's just eggs hatching." Thanks, Sarah, for starting my morning out with a laugh!

Erika over at Oops! I Craft My Pants shared her latest craft...a wacky and unique frame idea: covering a picture frame with gum. I just love Erika's blog and this was another quirky post that just made my day. Check out the frame and Erika's fantastic blog here!

All I can say is, thank goodness for blogging today. :)

Friday, August 20, 2010

Feature Friday - Karilan Designs

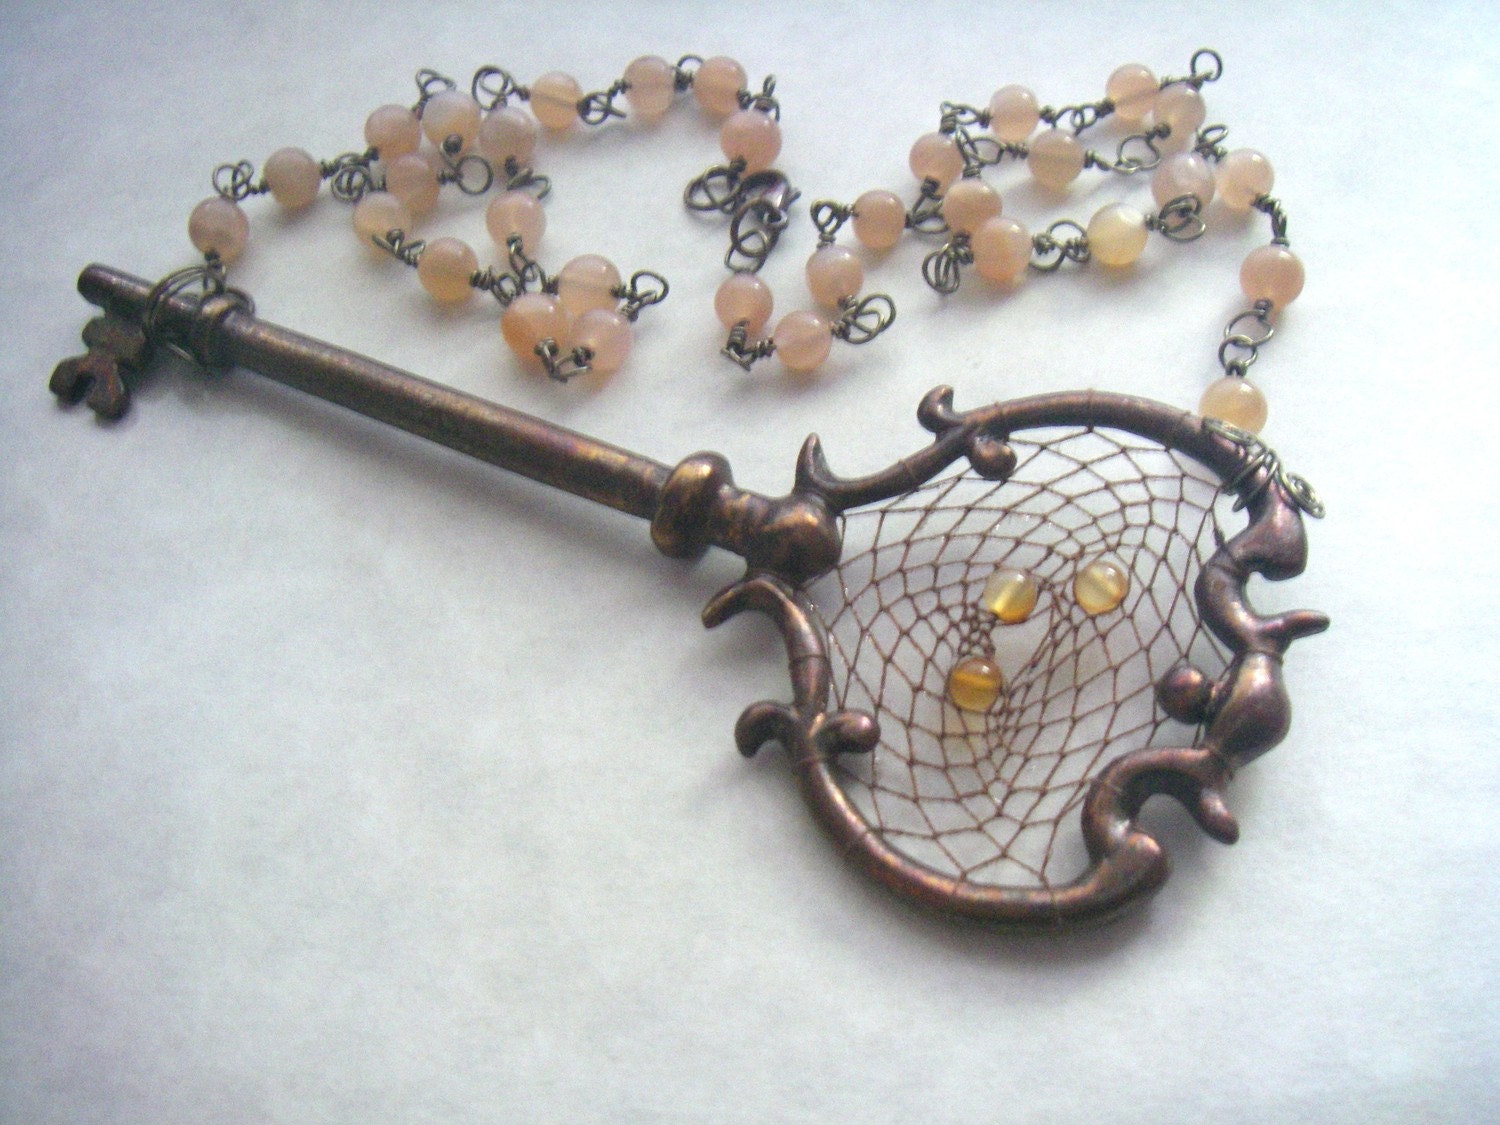
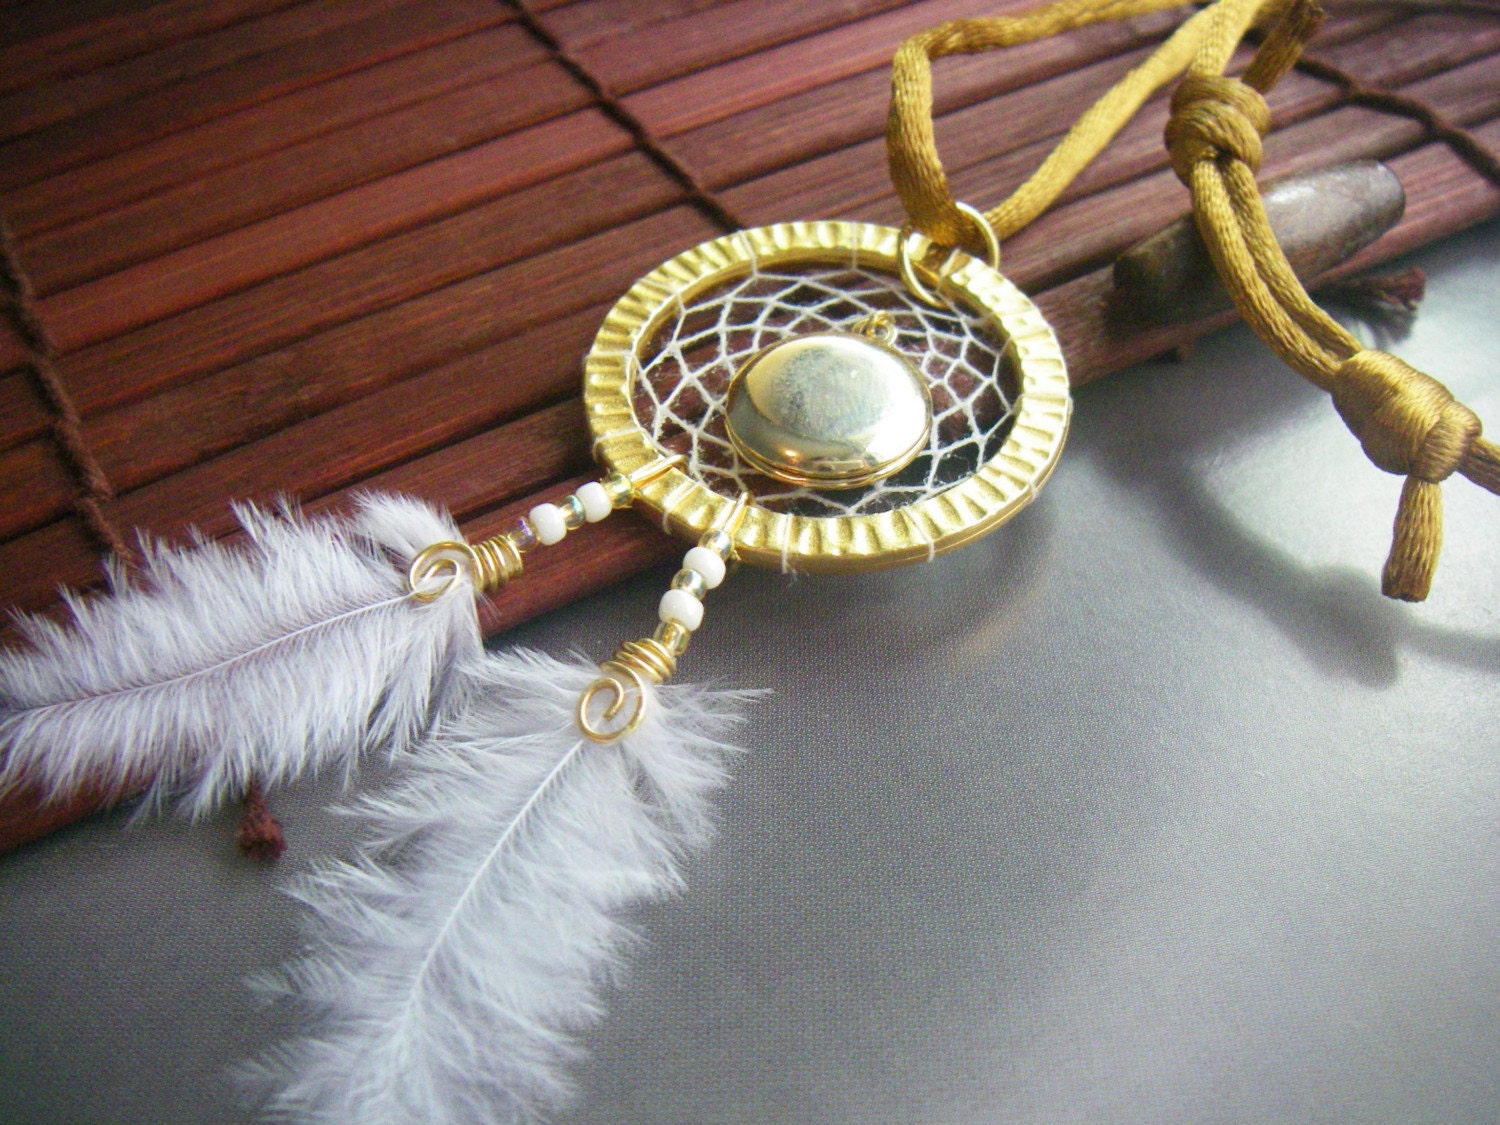
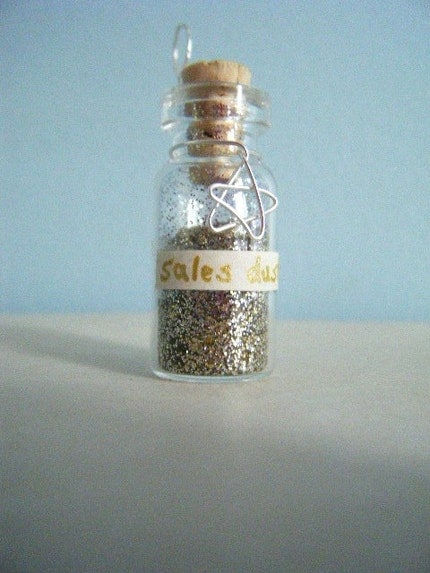
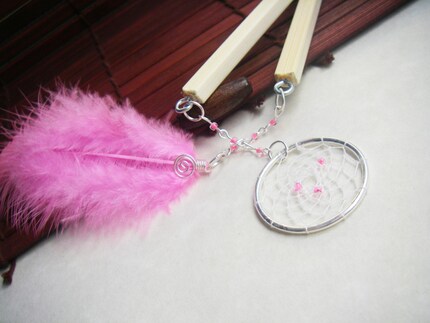
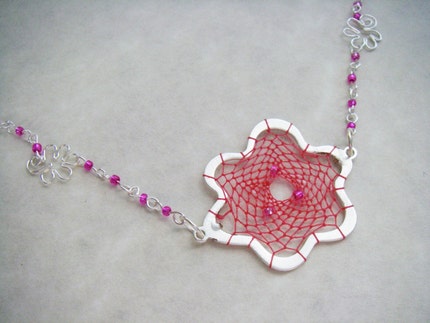
It's a late feature today, I apologize! I got busy with my skirt tutorial and had a crazy mishap...more to come! But first! We have a feature on a good Etsy friend of mine, and new owner of the first Mini Ruby 'Roo (custom made just for her!), Karilan from Karilan Designs. Her designs incorporate the dream catcher theme into many different pendants, earrings and necklaces. She also makes journals and notepads. You can find out more on her blog, A Dreamer's Destination. I absolutely LOVE her skeleton key pendants...I've collected keys since I was little, though my collection is pretty small. Anyhoo, let's get to know Karilan!

1. How did you get into crafting?
Ever since I was little, I was encouraged to be creative. I explored many different crafts but began making my own jewelry a few years ago.
2. How did your Etsy shop come to be?
One day I helped my sister make a miniature version of a dream catcher to give as a gift. It turned out so well, some friends suggested that I start selling them. I was having a tough time financially and decided to take a chance. My family pooled together about $100 for my birthday and I used the money to buy supplies and set some aside to cover fees, and my Etsy shop was born!
3. What is your favorite part about being creative?
I guess you could say I have a strange sense of style, and I often can't find things that really express me. Creating items myself is the best way to capture my own personality.
4. Are you a full time crafter or do you have a "day job?"
Right now, I'm a full time crafter, but I'm seeking employment. I've also been working on a series of novels, so I have a lot going on.
5. If someone were to buy you a birthday gift on Etsy, what 3 words would they use in their search?
Are you hinting at something? Hmm, I'd have to say "steampunk", "victorian" and because I'm a loyal sap to a great group of friends, "ignored".
6. How do you create your designs?
With a tiny needle and a lot of patience! I have a sketchbook full of ideas that I try to keep up with, but sometimes when I go shopping for one little thing, I come home with materials for 3 more designs.
7. What's in your Soundtrack to Sewing?
Tough question!! I love songs that can just carry me away. Lately I've been listening to a lot of Placebo and The Fray.
8. Favorite spots for inspiration?
I meditate while I weave, so I often sit at my craft table, in front of my altar, or downstairs in the backdoor. As long as I'm sitting in daylight, I'm serene.
9. Who inspires you?
My sister is a crafter too and she often gives me more ideas than I can afford. My boyfriend is very supportive and is a great person to bounce ideas off of.
10. If you had to choose one item in your shop as a signature piece, what would it be and why?
I suppose I can't choose the dream catcher in general...my butterfly shaped dream catcher necklace has become a recognizable piece for people and I really hope to offer it in more colors, but it's difficult to get that shape.

A big thanks to Karilan for answering the questions so we can get to her better. Definitely head over to her shop for beautiful and unique gifts! And you know, if anyone is wondering what I would want...look no further than the top of this post! ;)
In other news, I started on my tiered skirt tonight! It is looking awesome, and even though it is kinda complicated, it's also simple, in a sense. Unfortunately, I took a ton of pictures for my tutorial and in my haste, I failed to realize that my measurements were off...and it is just a little too small. So, what I'm thinking of doing is adding a super ruffly side panel...I thought it would be kinda edgy and feminine, and I wouldn't have to scrap all my hard work. Because if I did, it would not worth the back pain I have right now. :)

More to come on the skirt soon! Have a great weekend!

Tuesday, August 17, 2010

What If...

...interviews were like reality tv shows? Wouldn't it be easier if you could see what your competition was like and how you compared? What if instead of waiting for days to hear a yes or a no, you got to listen to the interviewer critique everyone, so you could know where you stand. And then all the interviewees would go back to a swanky apartment, drink champagne and talk about how unfair the process was...but what an amazing opportunity it was at the same time. Instead of days of waiting, you could be eliminated right away if you didn't make the cut. I mean, no one has to wait until the last show to find out that they were cut in the beginning. Wouldn't it be great if the interviewer gave you feedback directly, rather than leaving you guessing?

I was just watching HGTV Design Star when that thought came to me. Although, I guess I wouldn't want my job search broadcasted across America so everyone and their dog to talk about how stupid my curriculum plan was compared to contestant number 3.

So I guess there are pros and cons to everything. ;)