Saturday, April 30, 2011

My Chair Is Finally Here!


After a month and a half of waiting, my single sleeper chair finally arrived on Wednesday! It is even more beautiful than I imagined. I am still in love with the color and it just pulls the room together. Finally, a place to sit that isn't a desk chair or a vanity bench. :)


Here's how it looks with the photos on the wall. I like the way the blues in the sky pop with the teal of the chair.


Here's how it fits with the side table. The best part of this chair is that if one of the Red Sox hits this tiny little baseball on the Jordan's Furniture sign at Fenway, I get my money back! I'll have to start watching the games this season...


Just another photo with the pictures above it. What do you think of the new chair? Does it make the brown carpet look like it "goes" a little more?


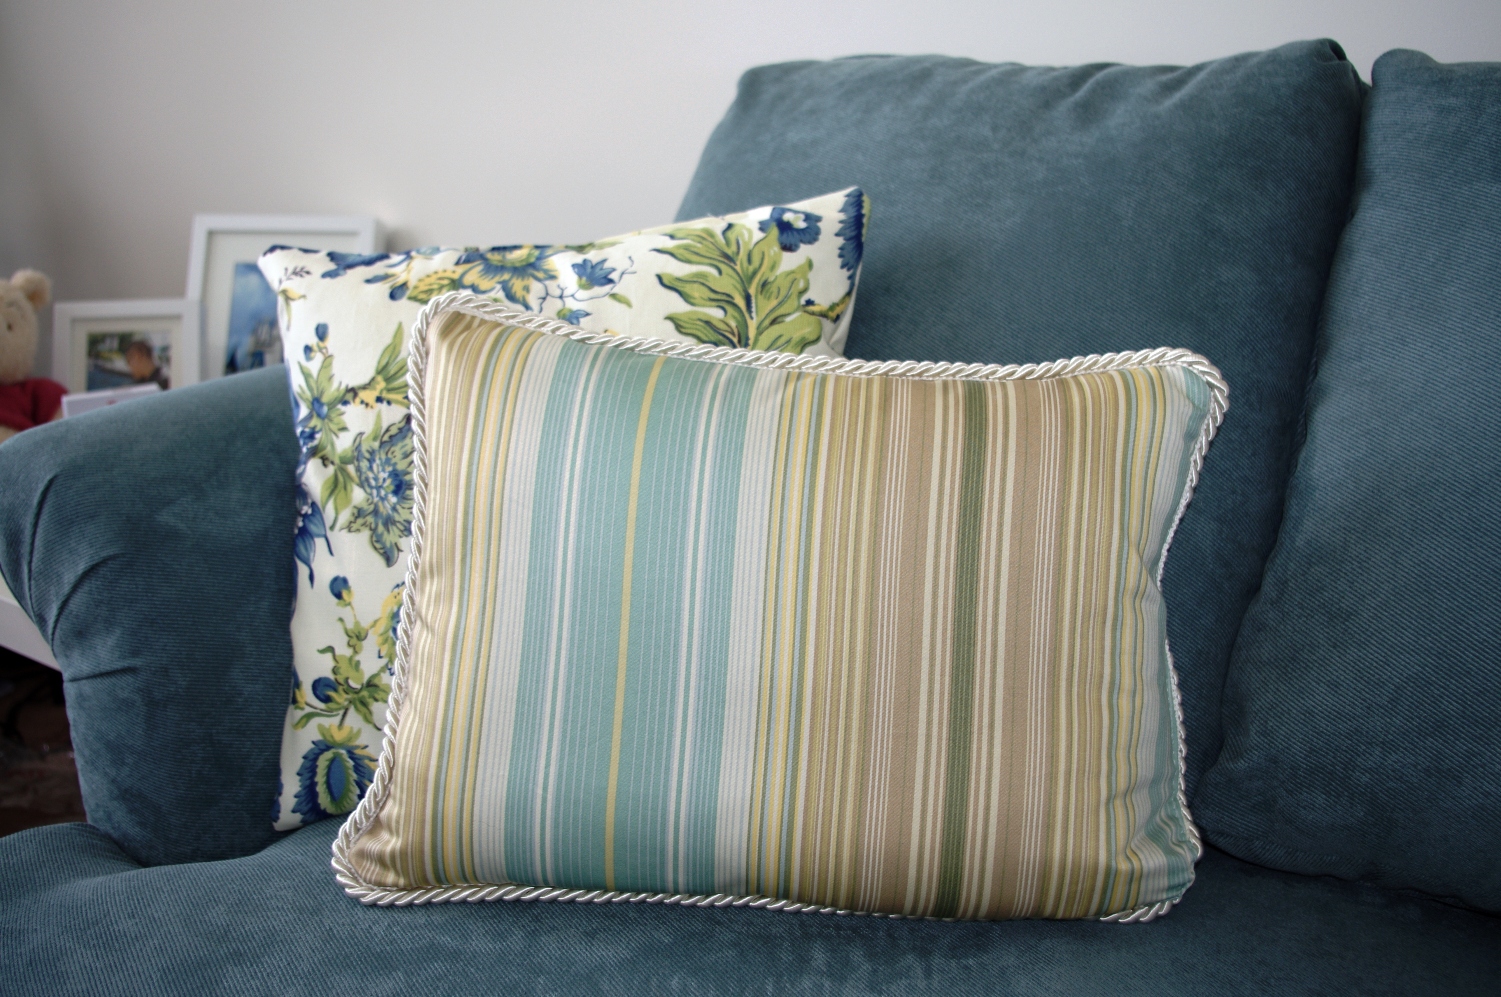
Here are the accent pillows in their special spot! We went to see the Rosecliff Mansion in Newport today and I kept looking at the decor...I love the style of the decor in all those mansions, so elegant and lavish! Two details I noticed...the pillows had the same cord detail as mine here, and the silk curtains looked JUST like the yellow curtain fabric I purchased for the sewing room. I can't wait to get those made and see how it looks together.


Here's a picture we took of the Rosecliff...we couldn't take pictures inside, but I found a picture someone else took of what I think might be the drapes...they are at least definitely from a Newport Mansion.


These, of course, are silk, while mine are cotton...or polyester...in any case, mine weren't expensive, and they won't have that sheen, but they are similar in color and pattern. That made my day! As did this photo that my boyfriend took on the grounds near the water.


Hehehe! And finally, here's a picture (from online) of the ballroom.

I know it seems silly, but I was excited to see some subtle touches of my decorating choices in this mansion.  Makes me feel classy. We had a great time, as we always do, in Newport, even though the weather was not the best.


I don't usually post pictures of myself on the blog (somewhat for identity, but also because I'm a bit self conscious...this shouldn't surprise you, since I have the diet blog), but I had to share my ruffled jean skirt in all its weekend-outing glory. I've made a change to the skirt, making it slightly more fitted around the leg area. I haven't worn it since last summer, and I always worry when I wear the clothes I've sewn that someone might think they look weird (the ultimate in self-centered self-consciousness), but I still really enjoy it. Yay for getting use out of my projects!

And the Winner Is...

...entry number 7, Jel!

Congratulations, Jel, you have won a Quilted Wall Hanging Organizer! I can't wait to see what you come up with! :) Thanks to everyone who entered!

Thursday, April 28, 2011

Only One More Day To Enter My Giveaway!


The giveaway will close tomorrow night for the Quilted Fabric Wall Hanging Organizer, custom made just for you! I hope you pass this along and can't wait to see what the winner will design!


Saturday, April 23, 2011

Celebrating 101 Posts with a Giveaway!


That's right, even Slinky is getting in on the celebration! Today marks the 101st post on Silver Rose Sewing! It's been a long road so far, but I'm not stopping now! When I started this blog, I needed a creative outlet to give me something positive while in the throws of a back injury and unemployment. Since then, I've opened my Etsy shop, learned new sewing techniques, gained confidence, and after a lot of ups and down, gotten a job! Now, I've finished my newest project, a quilted fabric wall hanging organizer. I hope you enjoy it! 

I chose large pockets in a blue and white vine print, with pockets for ribbon, needles, scissors, misc. and scraps.

The pockets are fairly strong, able to hold a heavy remote and several cutting devices in each pocket.


Ribbons are placed around the edges to hang the organizer to the wall without seeing the nails.

Each pocket is embroidered with a label.

The organizer is built like a quilt, with batting in the center to give it some heft. I've hung mine above my cutting area so all my materials are at hand.
And now...it's your turn to win your own custom organizer! Size, number of pockets, orientation, color, labels...all up to you! There are several ways to enter! Leave a comment for each entry.

*Mandatory* Be a follower of the blog and tell me how you would use your organizer. (1 entry)
Be a fan on Facebook. (1 entry)
Add Silver Rose Sewing's Etsy shop as a favorite. (1 entry)
Buy an item from Silver Rose Sewing. (3 entries)

I'm so excited about this new project and I hope you like it too! Let me know what you think and any ideas you may have when you leave your entry comments. Happy 101 Posts!

Monday, April 18, 2011

100th Post! Tabbed Curtain Tutorial and Finished Accent Pillows


I was going to wait to post this after the organizer was done, but I just can't help but share my two finished projects from the weekend. So, for my 100th (WOW!) post, I am sharing some of the projects I've been working on for the new townhouse.


I love the new pillows...I can't wait to get the chair to see how everything looks together. The patterned pillow is just standard, and I probably should have stuffed a little fluff around the pillow form, but it'll do. My favorite is the stripey pillow that took a long time. I wanted that ivory cord around it, but I wanted it sewn in. I found quickly that to hide the attachment fabric, I would need to hand sew around the pillow until the cord was taut with the fabric. This took a long time, and I switched off watching Sex & the City and True Blood on On Demand. I have to say, having a quiet, peaceful place to sew is definately giving me inspiration and also relaxes me at the end of the day. What do you think about the pillows??

Next, I worked on curtains for the bedroom. My boyfriend wanted a more sophisticated curtain, so we decided on the tab-top style like these. After a looooong search, I found a great patterned fabric at Joann's for $3 a yard, and my boyfriend found a nice coordinating solid fabric for $2 a yard at Job Lot. In total, I made the curtains for $10, and have a ton of fabric left over for more curtains in the townhouse, or to make other projects. Anyhow, here is the tutorial for the seperate tabs that are nice and strong!


I started with basic curtains in this cream, blue and yellow floral pattern, just hemmed on each side.


We used a coordinating fabric in a pale slate blue color. I cut a long 5.5 inch wide strip along the edge of the fabric.


For your tabs, cut this long strip into 8 pieces, about 5.5 by 7 inches. This will make the tabs for one panel for a large window. You can always adjust for the size you need.


Fold the fabric over, matching the longest sides, and pin.


Next, sew the pinned side using a straight stitch.


I stuck with white thread because I didn't mind the look and I didn't want to run to the store again, but you might want to use a color-matched thread. It should look like this when you're done.


Turn your strip inside-out and place the seam in the middle on top.


Fold the ends over toward the top with the seam and sew. Trim any extra fabric.


This is what the strip (or burrito, as my boyfriend likes to call it) will look like on the front side.


Once finished with all of the strips, you can begin to measure and pin along the top hem of your curtain.


Fold your tabs in half over the top hem and pin in position. I placed my tabs slightly below the hem to minimize any extra space between the bar and the curtain. You might want to place your tabs higher. The placement is up to you! Just pin evenly along the top hem of the curtain and sew each tab with a straight stitch. For heavier fabric (mine is fairly light), you may want to use a double straight stitch for more strength.


And here's the finished product! Sorry for the blur...I had to zoom and it wasn't pretty. :)


As you can see, because of where we needed to place the furniture, the bed was not centered with the window. I could NOT live with this. Luckily, my avid HGTV watching gave me a trick!


Hanging the curtains centered with the bed, and not the window, evens the wall up perfectly!


And here's the finished product! I love how these light curtains bring the room together, keep the street lamp light out at night, and keep the warmth in.

Next project is the organizer, and that means...GIVEAWAY! Keep checking back in for ways to enter. What new projects are you working on?

Tuesday, April 12, 2011

New Projects, 50% Off Supplies, and A Giveaway!


Well, I stopped by Joann Fabrics while my prescriptions were being filled and everything I needed for my upcoming projects were 50%, plus I get my 15% teacher discount...I had to take advantage. So I bought my fabrics for the sewing room before the chair arrived...I think they will work. The yellow is for the window treatment, and the patterns are for pillows for the chair. The blue tie-backs are for the window as well, and the white cord is for the stripey pillow. I am so excited about the colors in this room and I can't wait to see it all put together!


Here are the fabrics for the quilted wall hanging organizer that I am adding to my sewing room, and eventually my shop. The solids are for the background, while the patterns are for the pockets and edging. 


I am going to use one of the blues with the white background.


Then there are two brown options...


...and a black option. I have other colors too, but these are the new fabrics, anyway. Ribbon ties will be placed around the edges to hang it on the wall, and the pockets will be embroidered with labels, or names. I'm thinking for the sewing room I will have pockets for scraps, scissors, measuring tape, things like that. I also thought of one for the entryway with pockets for mail, netflix to send back, and a pocket for car keys, since we tend to trade off sometimes and it can get confusing. I thought of an organizer for beside a child's bed with pockets for binkies, stuffed animals, books, and other special items that would otherwise get lost in the bed.

And since the 100th post is coming up soon (EEK!!), when I post my finished sewing room organizer, I will open up a giveaway for your own, personalized organizer for one special winner. I will announce details and ways to enter next time. Until then, what do you think of the new idea?!

Sunday, April 10, 2011

A Little Decorating


The decorating has begun! This weekend we focused on pictures and things that need to be hung on the wall. We ordered some prints for free on Snapfish, which was a great value, although I also ordered some larger pictures, so those were not free. But still not bad, and we were able to pick them up at Walgreens. My favorite area so far is the side table that will be next to where the new chair will go in the sewing room. It is the Disney Table...I am a big lover of stuffed animals, but never know what to do with them when I get them home. I like that these guys have a place to stay now that makes sense, albeit cutesy. I do love cutesy sometimes.


This collection is above where the chair will go and includes photos from my hometown. The shadow box was made by my mom, and is a 3D image of a painting that I love that belonged to my great-grandma. It deserves a special place. :)


We installed shelves above the tv to put all my frames and a few other decorative pieces. I kind of want more shelves, but all in good time.


Here's the upper stairway...just more frames. What have you been working on this weekend?

And that's all for now. I have finally caught the cold that I seem to have been able to avoid for the last two weeks. Not fun. Horrible sore throat and achy weakness. Hopefully it will go away soon, because I really don't want to have to stay home from work. I've been doing well, besides the days I needed for my back. We'll see. Have a great week, everyone.

Saturday, April 9, 2011

My New Sewing Room


After two weeks, I am finally making some headway on my sewing room/second bedroom. It is really more of a den, since there will be an over sized chair (with a single sleeper inside, so at least there is some kind of sleeping surface in the second bedroom) and a television. This view is of the sewing area, which includes lots of work space. Two tables, made into a corner station for cutting fabric and basic sewing, and my old desk where I will do embroidery.


Here is a better view of the corner station. I am thinking of getting a new cutting board, but they cost more than the tables! You can also see the frames and shelf materials that have yet to be put up.


 Two Brothers, together at last!


The two tables are new, as well as the tv table, and the white side table, which you can kind of see in the photo below. All the furniture in this room, plus the new lamp, frames, and shelves cost just $175! I am so proud of my furnishing of this room. My big splurge will be the over sized sleeper chair, which doesn't arrive for a couple more weeks. I won't tell you how much that was, but I watch a lot of HGTV, and I've heard designers suggest investing in the focal piece of furniture, then furnishing the rest of the room with bargain items. Thanks to Ikea, this was totally possible, and the pieces are sturdy and look great. :)


Here's where the chair will go...it's currently the storing place for all the decorative items that have yet to be placed. That's the tackle of this weekend...cleaning and decorating the rooms. Not sure how much I will accomplish, but hopefully a decent amount. The last thing I will do for this room, once I get the chair so I can color-coordinate, is make a window treatment and throw pillows. I've already priced a few fabrics at Joann's, which is right across the street! It's pretty pricey, but I like to be able to to touch the fabric and see the color in person, so I don't really want to shop online. And honestly, one drapery panel at Bed, Bath and Beyond costs as much as a yard of the fabric I want. So I figure it's a similar price point and I get exactly the fabric I want. That's will be a fun project!

I have another project that I hope to work on next weekend...a new item for my shop. It will take a little planning, but it should be a lot of fun. Can't wait!